In the previous instalment of this blog series I wrote about the genesis of a four player Zone Mortalis campaign inspired by a windfall haul of spaceship terrain. It’s all well and good to get excited about new armies but actually building and painting an entire table worth of intricate terrain is another story. Having assessed the pile of sprues to build, I quickly realized that it would take me all year to build and paint this stuff, but if all four of us in the campaign pitched in, we could get it done without anyone (that’s me, mostly) losing their minds!
Immersion was going to be an important part of this campaign. As a group we discussed how we’d base our models to match not just each other but also the terrain. With four different army paint schemes this meant a lot of discussion about how to choose bases that would complement every army. A general rule of thumb in miniatures painting, and especially in painting whole armies, is to choose a base scheme that provides a subtle contrast to the miniature itself. In short, a brightly colored miniatures should have a dark base, and vice versa. Typically this is achieved with earth tones but this would be more challenging since our armies would need to be based to match the interior of a space ship.
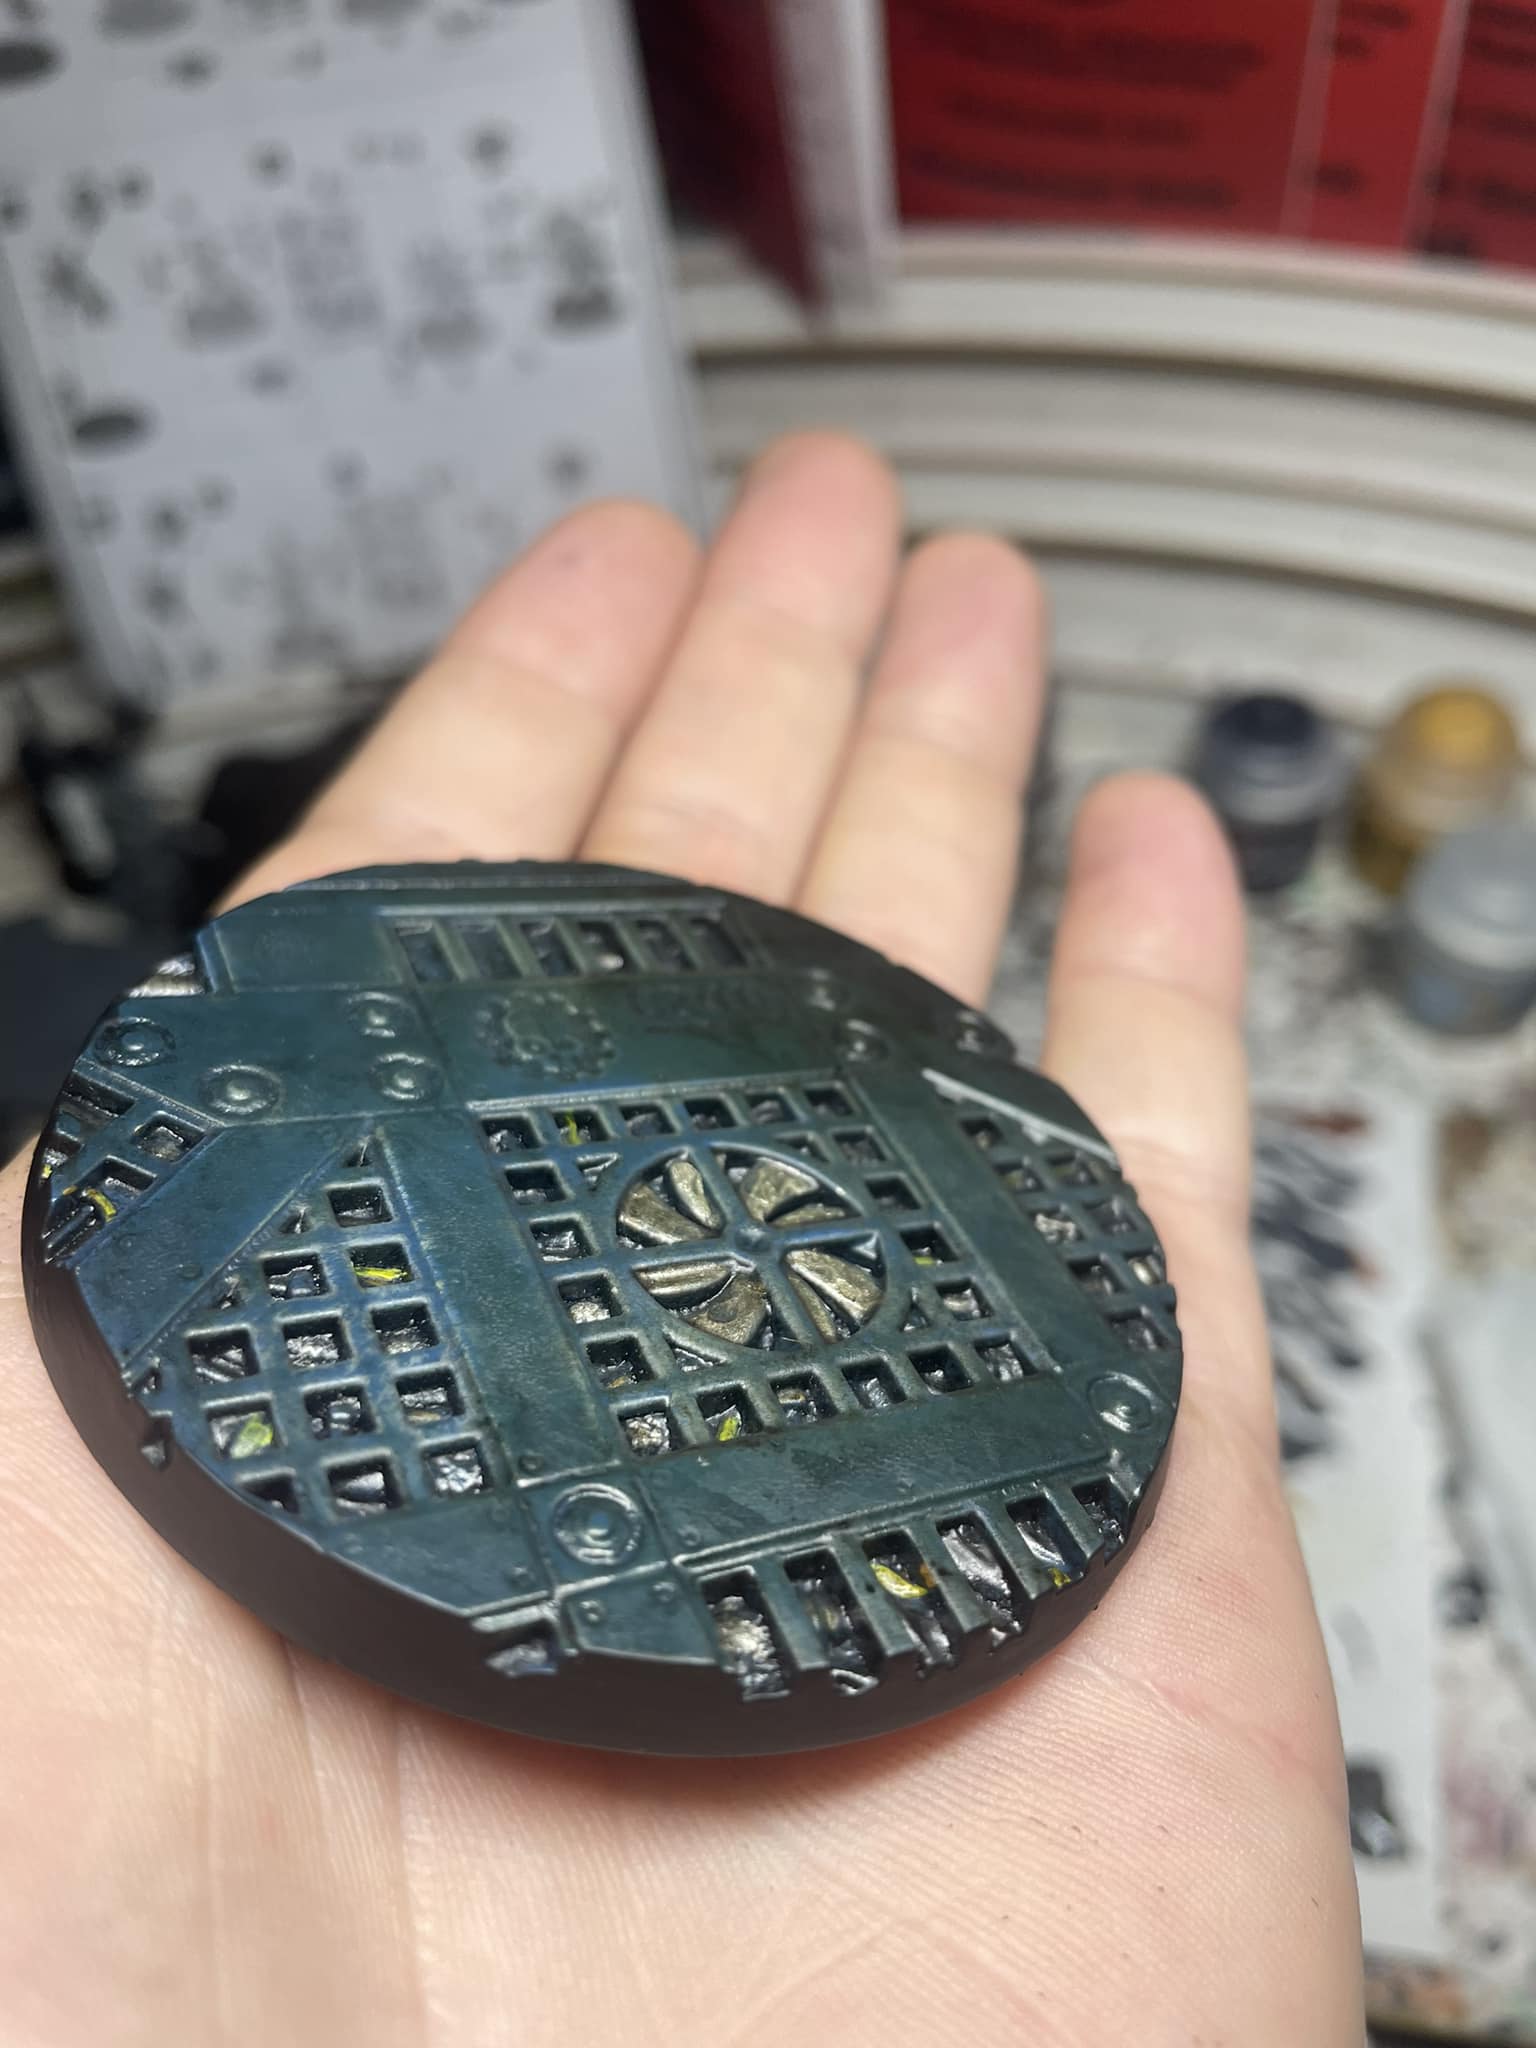
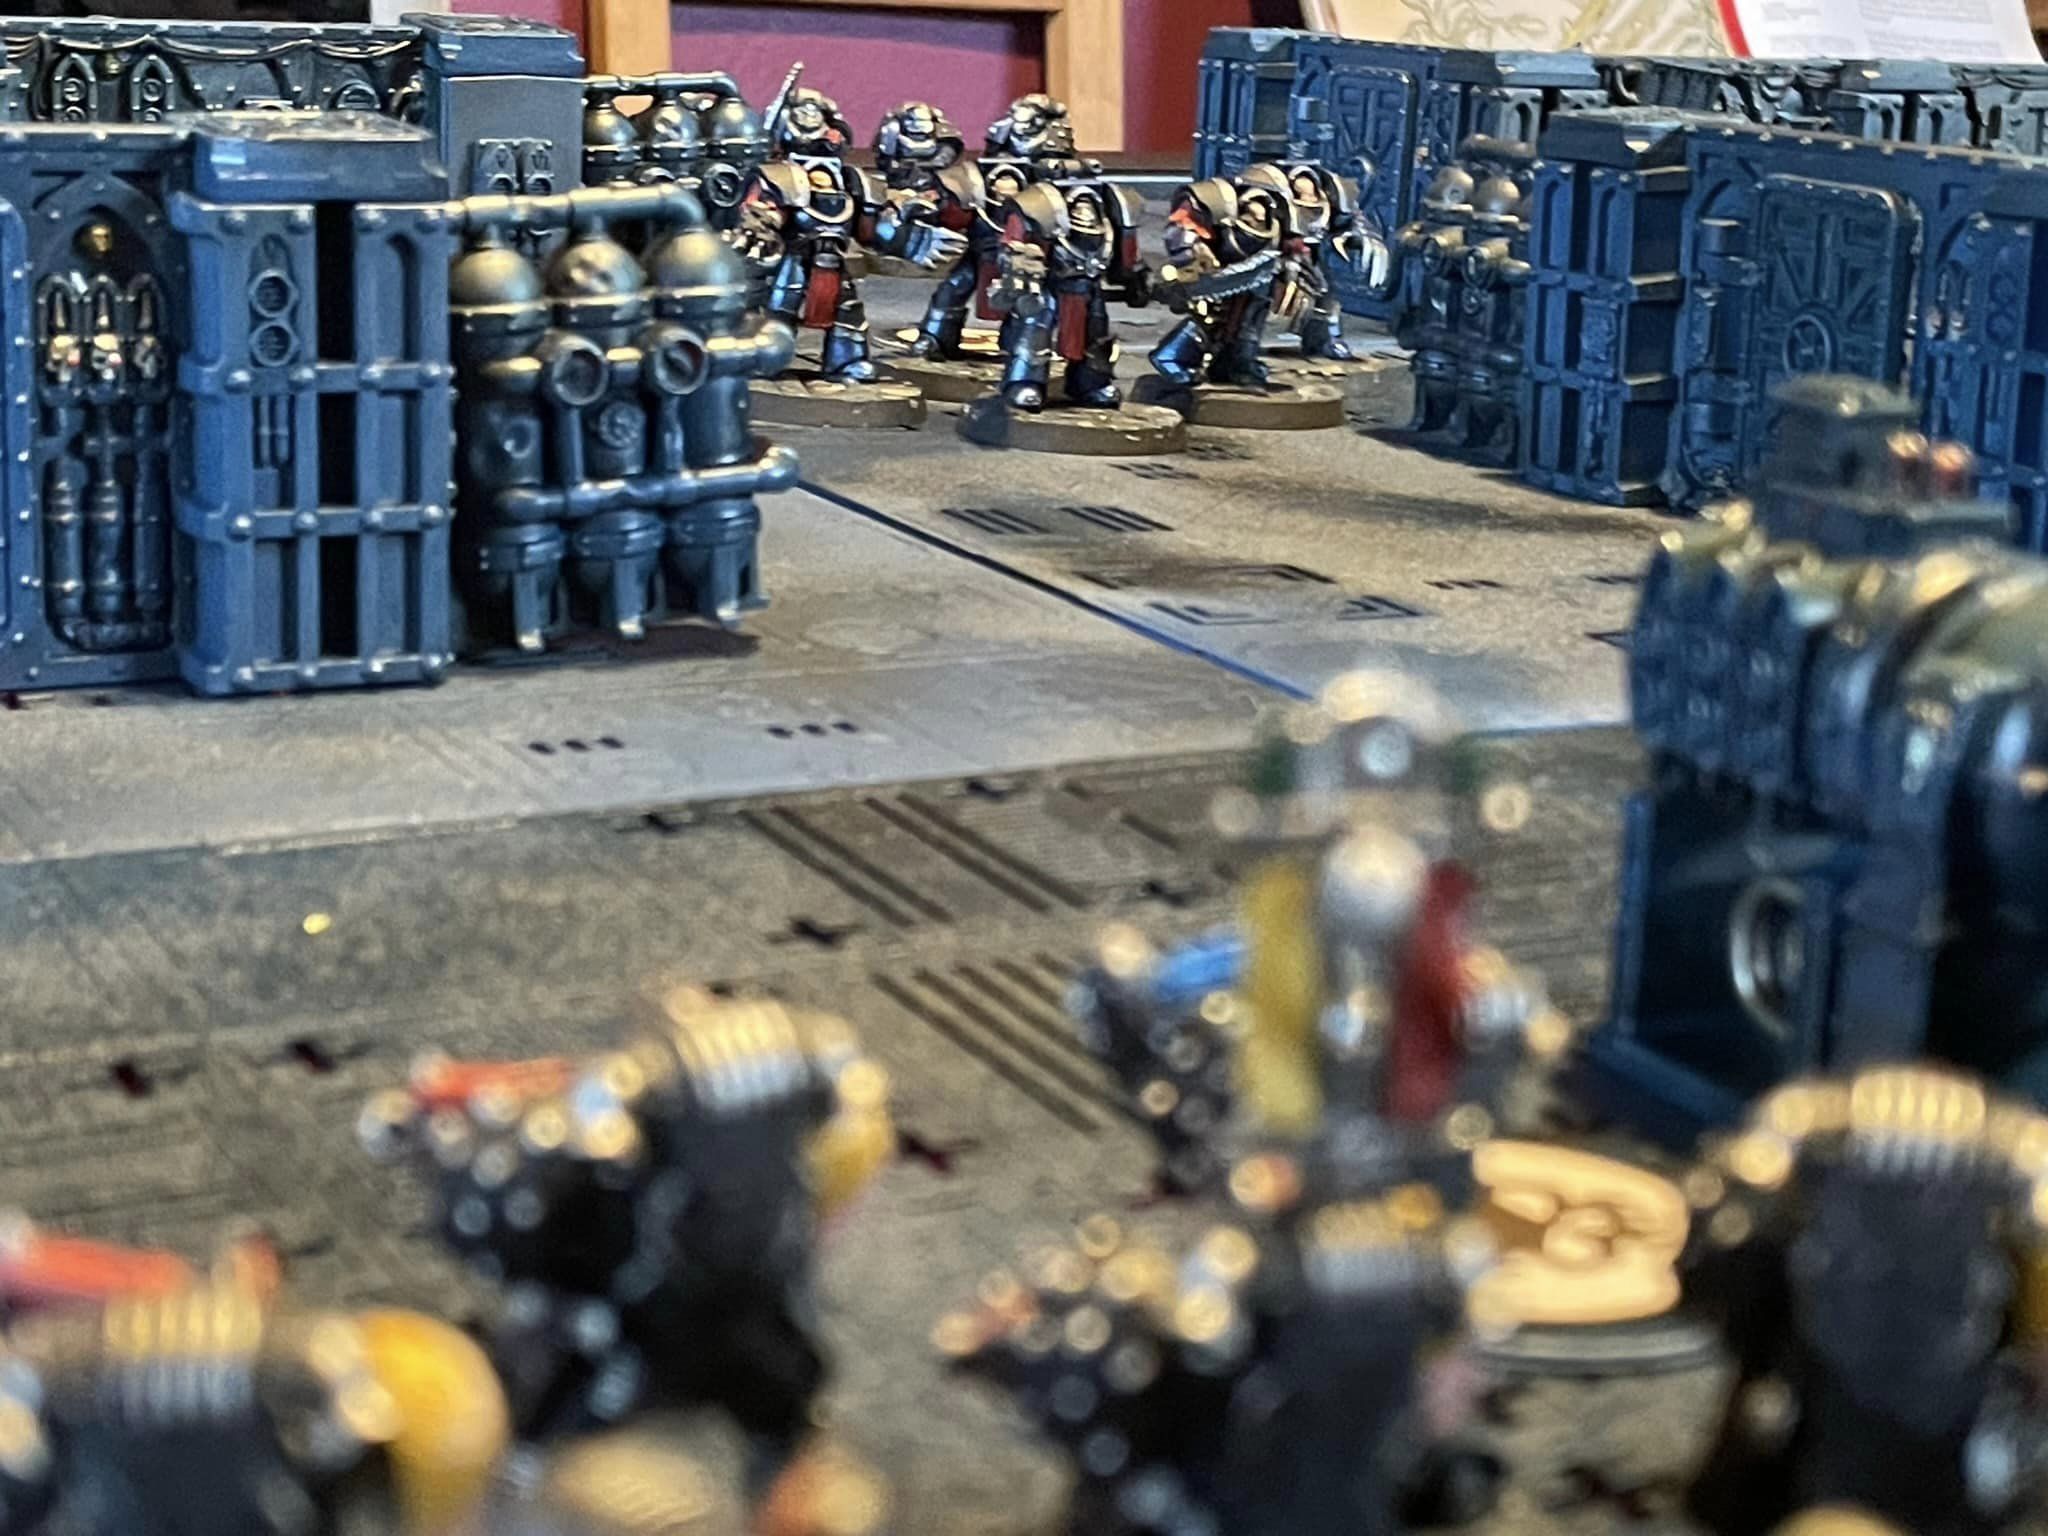
After much discussion, we finally settled on a deep but desaturated shade of blue. This would be a simple color to apply to the terrain but also let each of us provided varying degrees of weathering on the bases to complement each of our armies. Here’s the final recipe:
Prime black
Spray Army Painter Deep Blue
Pick out details like cables, fan blades etc with base colors (silver, black, yellow, etc)
Black wash (Nuln Oil/Vallejo Model Wash or the like)
Drybrush Stormfang Silver
Highlight details (silver, black, etc)
Spray Dirty Down aging spray Dark Brown
Stipple with sea sponge to manipulate the aging spray
Clean up base rims with flat black
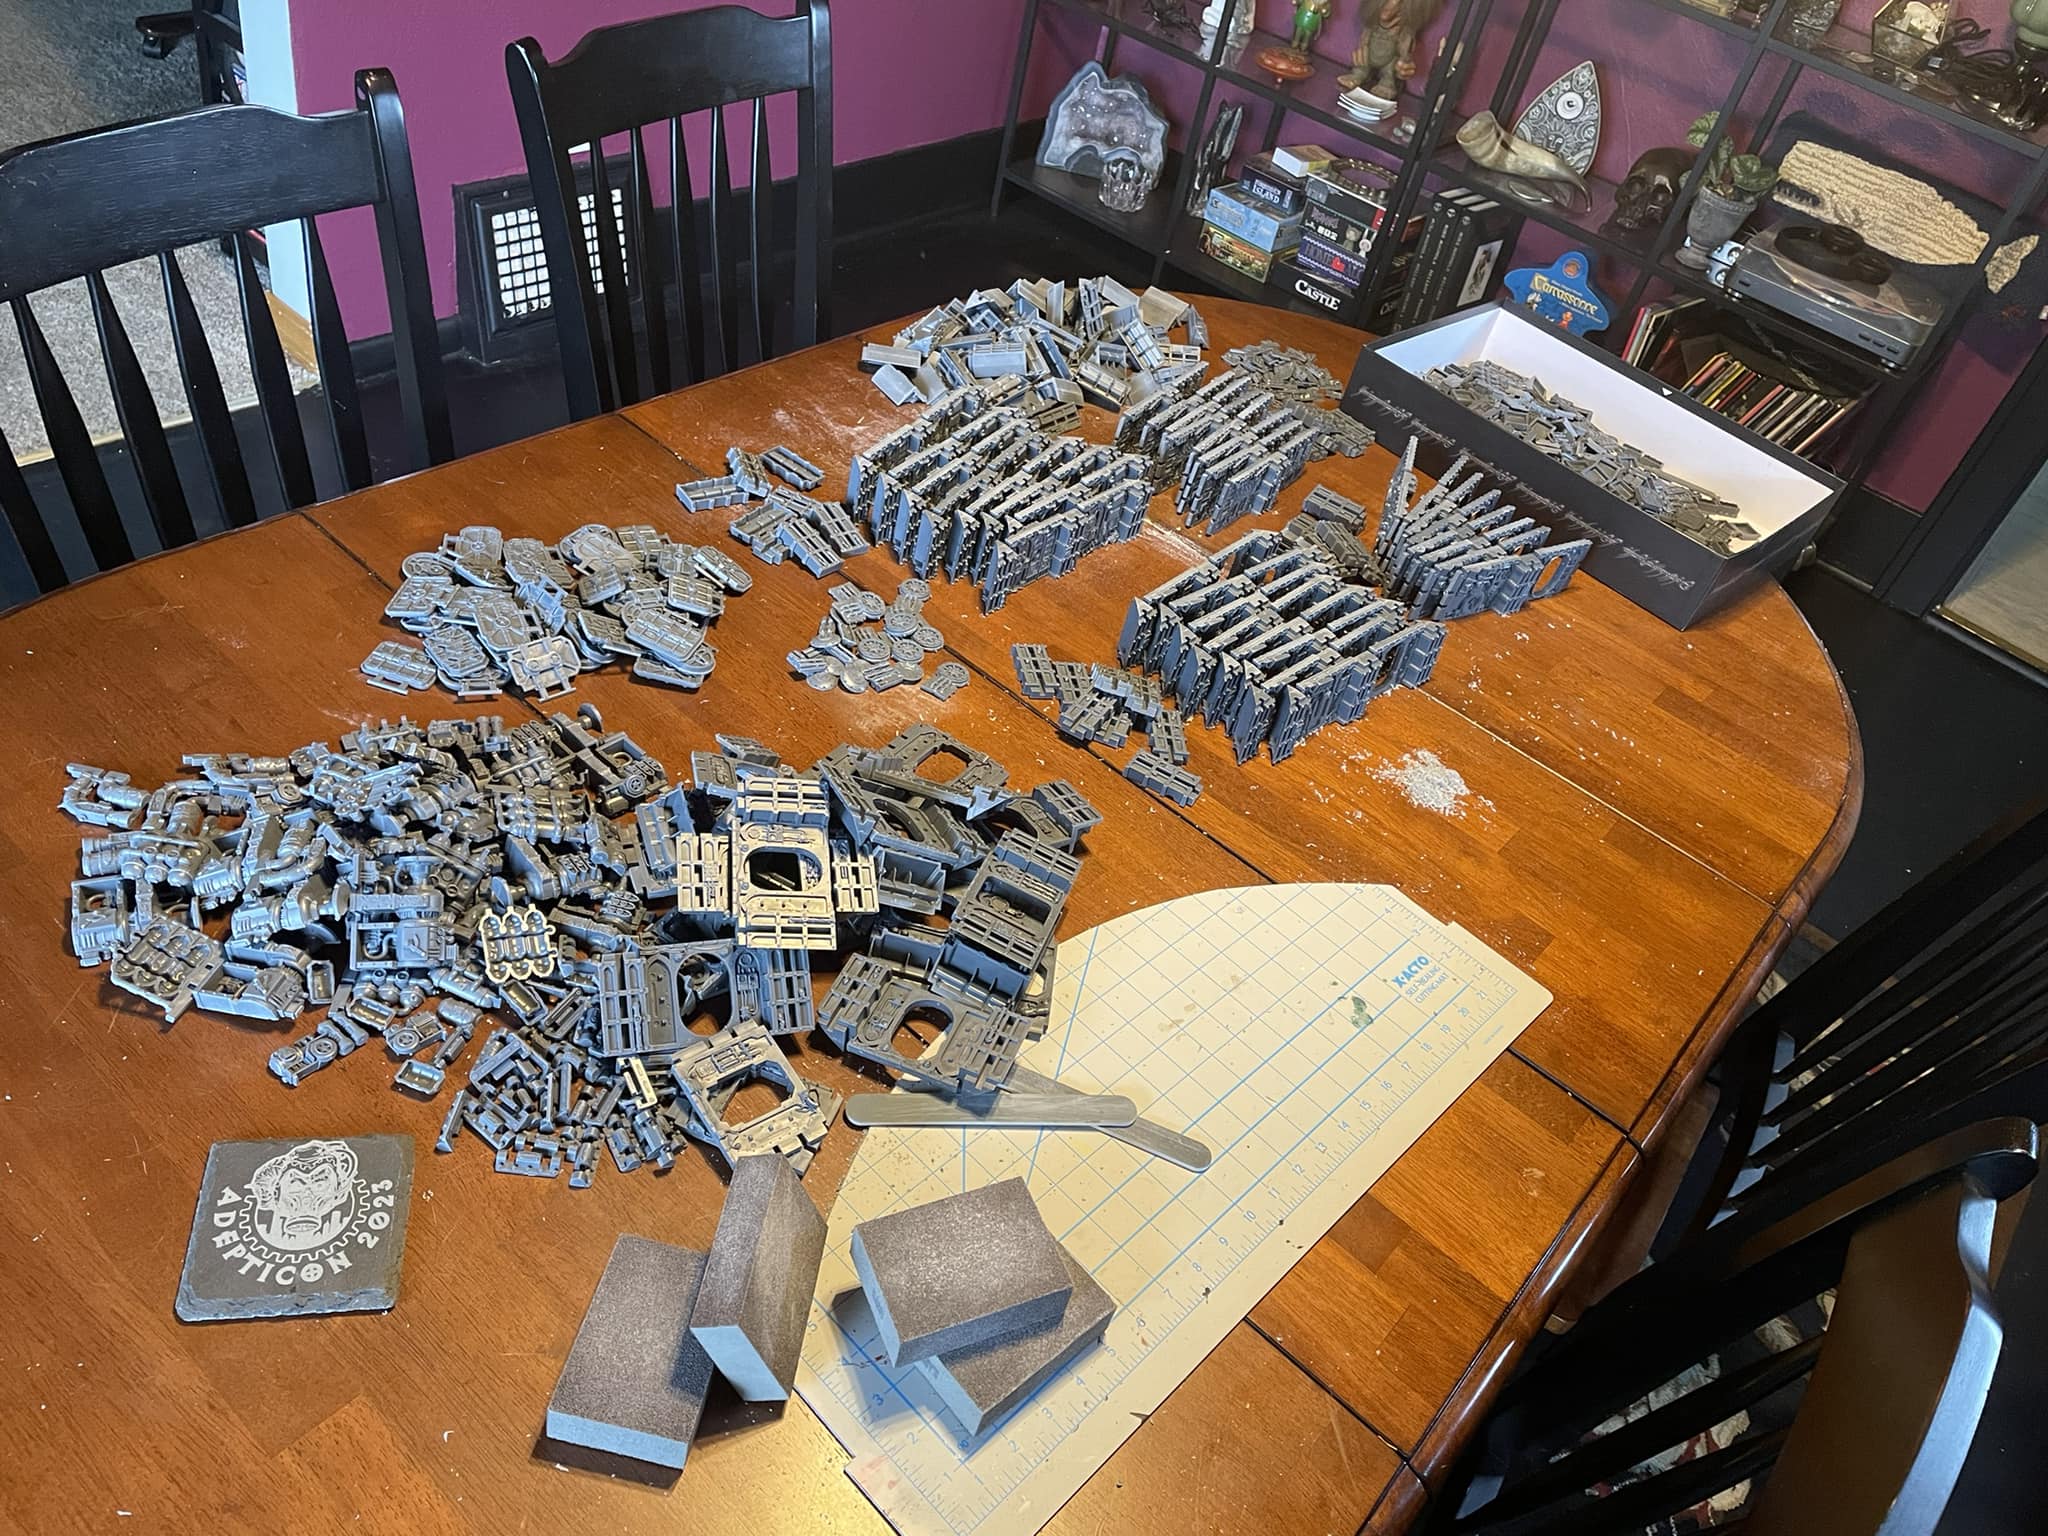
Having nailed down our scheme we could start building the terrain, and boy, was there a lot of it. The Gallowdark Kill Team terrain isn’t complicated but when you have four full sets, it would take a week just to clean all the mold lines. Fortunately for me, the three other players were happy enough to help! We assembled one rainy spring day in my dining room and spent about six hours clipping sprues, cleaning mold lines, and doing the simple assembly required of the dozens of wall and door sections.
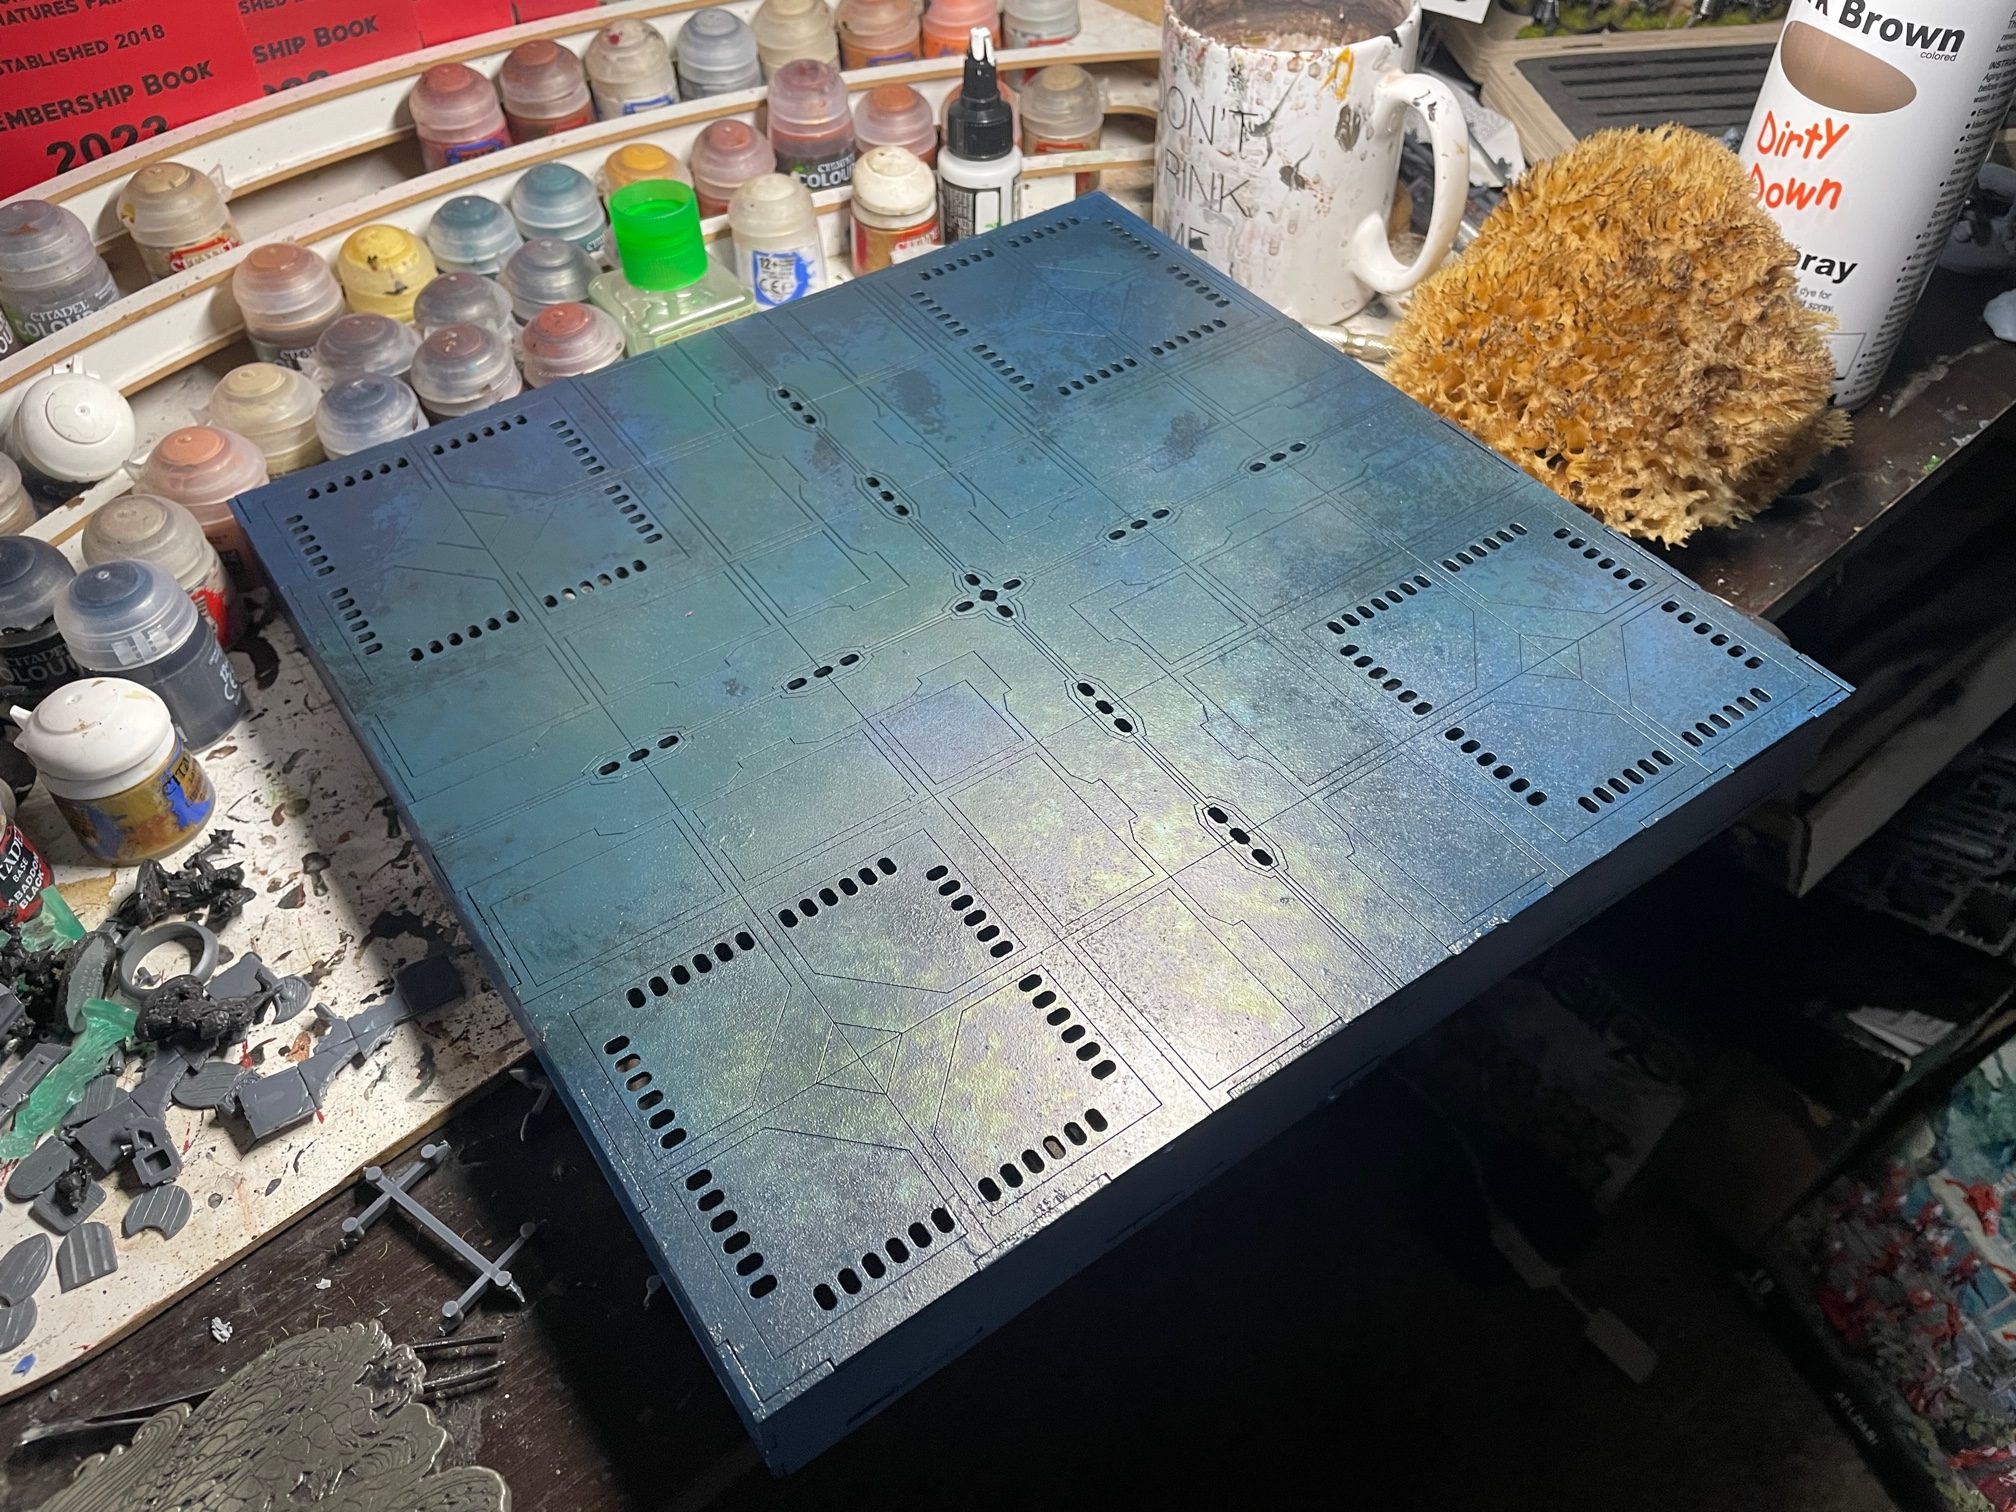
We reconvened a few weeks later to work on something special I’d found for the table. While poking around online for spaceship interior modeling inspiration I stumbled upon a very cool set of MDF tile kits. These recessed tiles would provide a fantastic base for the terrain we were building but with the very cool addition of simple strings of LED lights to provide dramatic and atmospheric under-lighting! Having received all the terrain for free I didn’t mind splurging a little on the tiles and ordered enough tiles to fill a 6×4 board. I chose twenty with red LEDs and four “nuclear vault” tiles with blue LEDs. I figured these four tiles with an alternate lighting color would not just break up the monotony of red lighting but would make great areas for objectives or deployment zones.
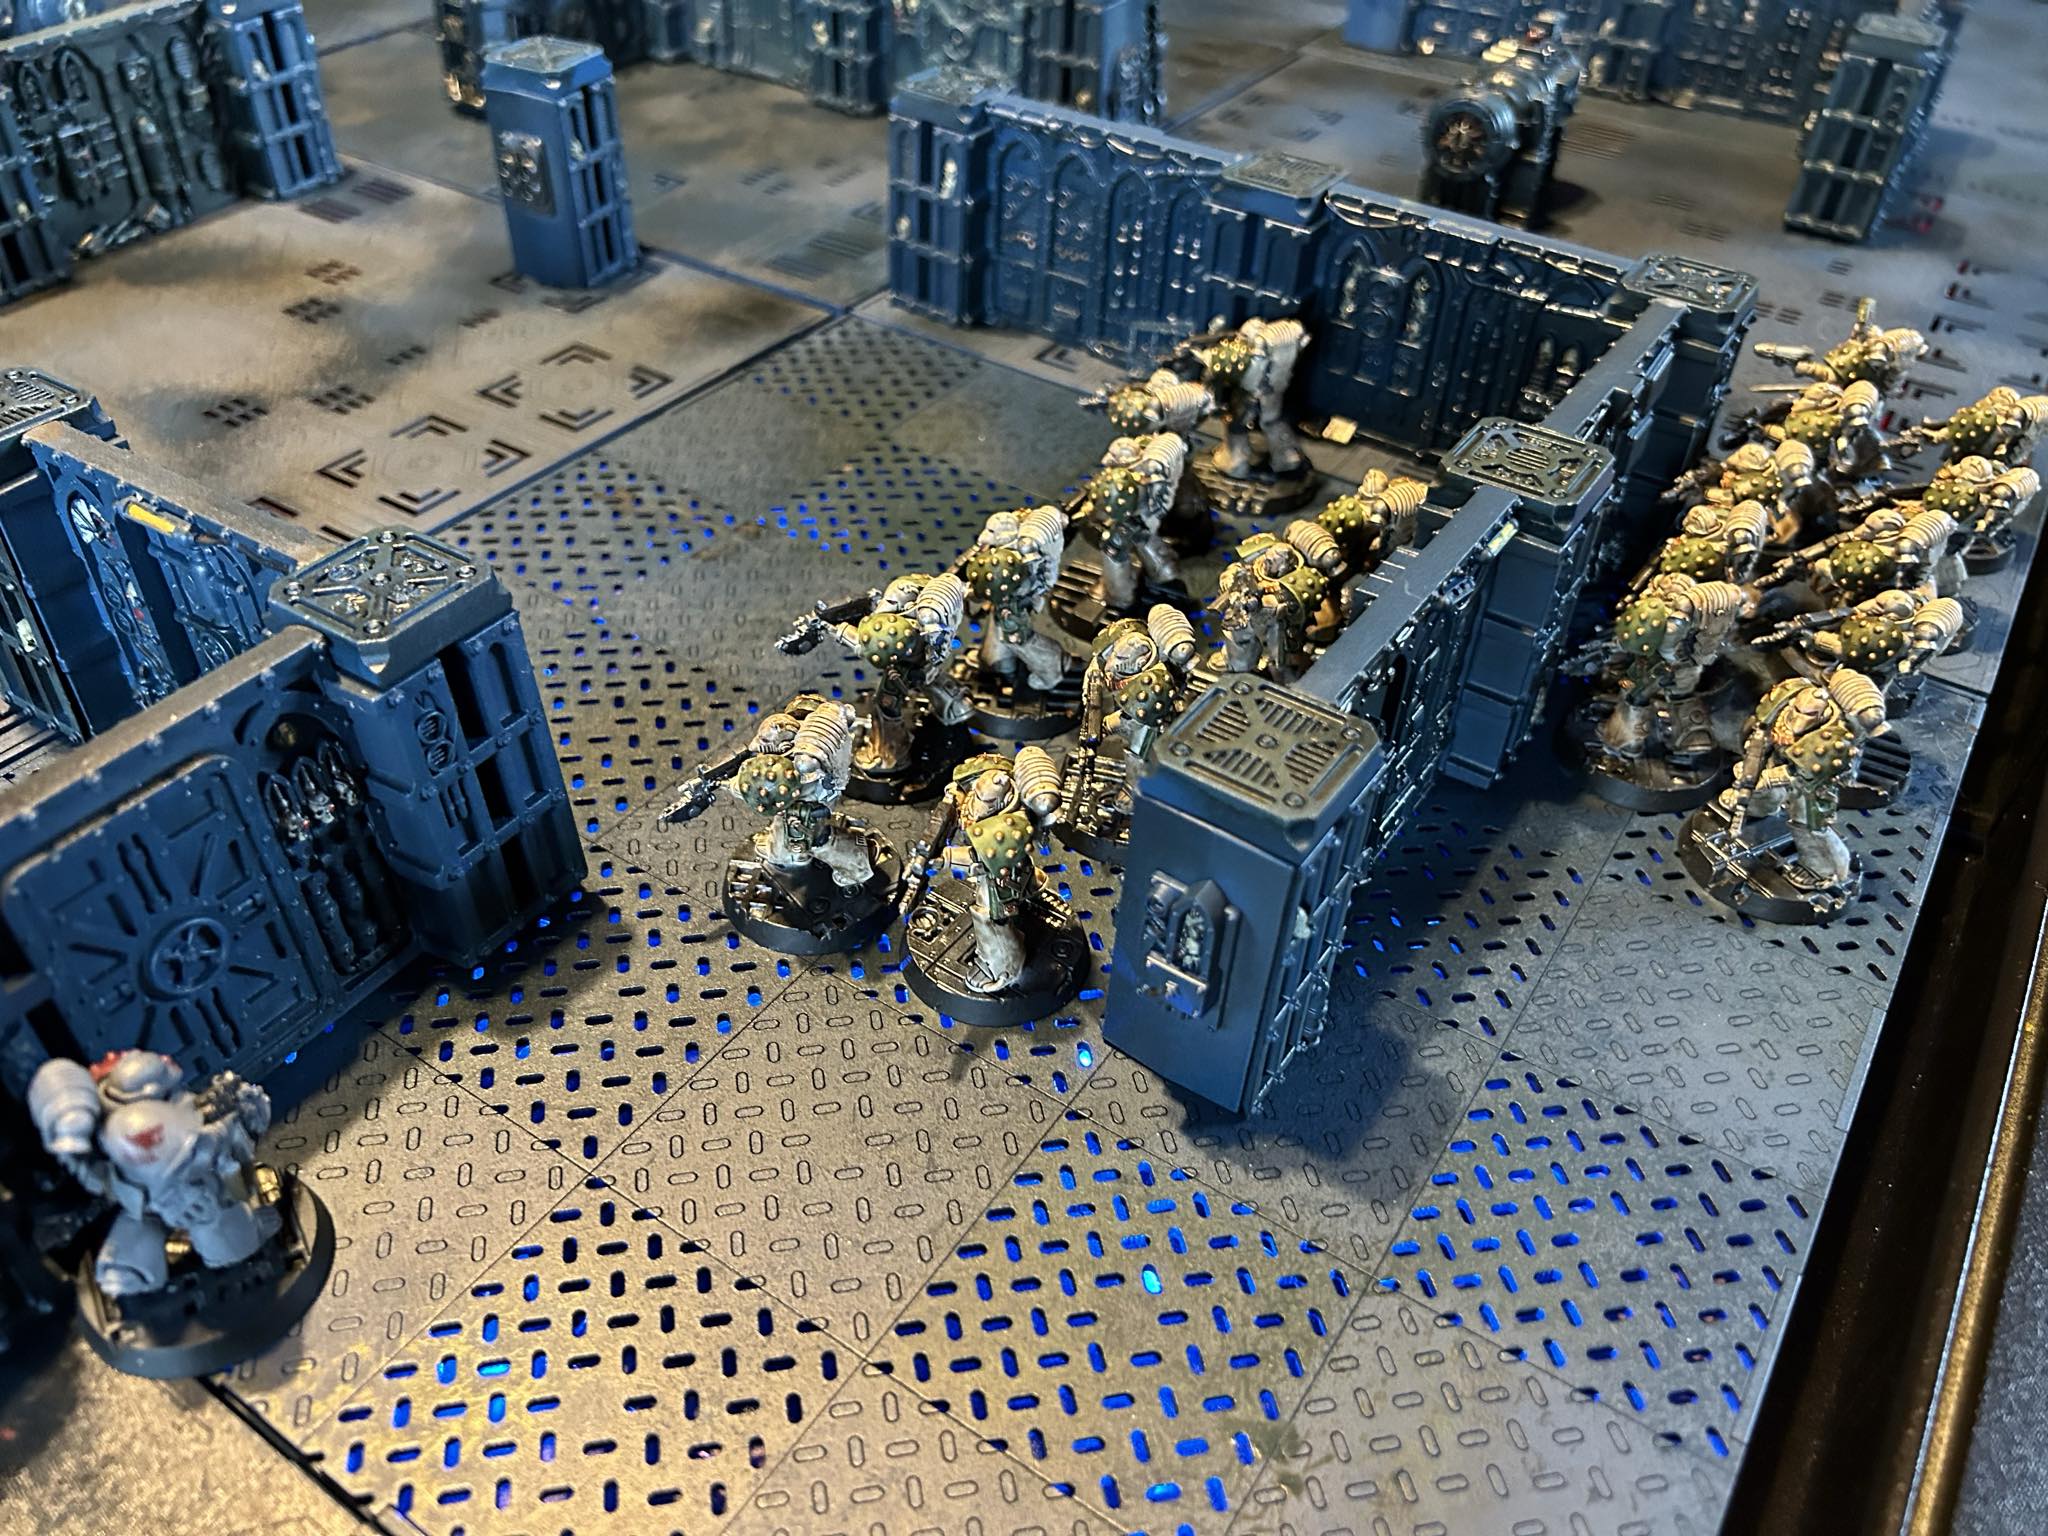
With everything assembled I spray primed a few pieces in black and then Deep Blue before detailing. I used these proof of concept pieces to show the rest of the group who then each took roughly 1/4th of the terrain home with them to paint up in a similar fashion. Divvying up the terrain meant each of us could get our portions done in a weekend or two without anyone losing their minds and souls to the brutal deathmarch that can be terrain painting! Then real life hit all of us and about eight months later, we were finished…
But the table looks amazing and was well worth the time!
In the next and final instalment of this series I’ll show off the armies and talk a little about the game play of our Zone Mortalis campaign!